
FASHION
Golden Hour: Coach Elegance on Your Wrist

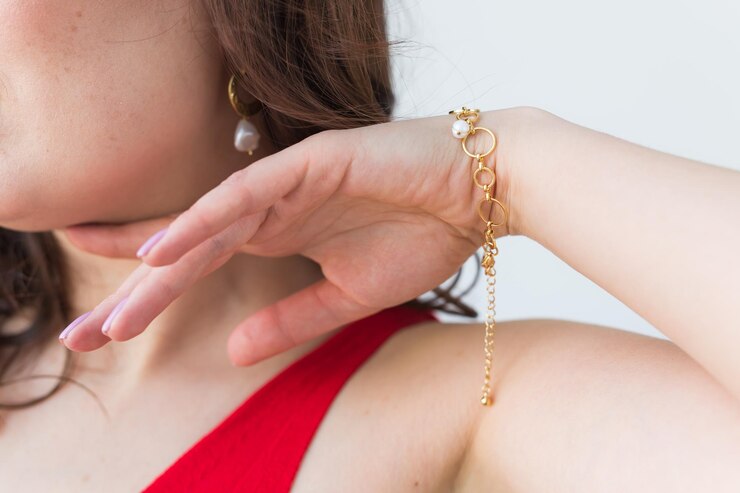
Golden Hour Coach has long been recognized for its leather goods and accessories, but their venture into wristwatches brings together ornamental elegance and horological precision. Each Coach gold bracelet watch is meticulously assembled: its quartz movement ensures accurate timekeeping, while the classic analog dial reflects minimalist yet bold aesthetic sensibilities favored in contemporary fashion. Whether paired with casual denim or elegant suites, the piece acts as a statement of refined taste.
Gold-Tone Brilliance Meets Modern Design Golden Hour
What sets this collection apart is the way Coach achieves visual allure without ostentation. The gold-tone bracelet, available in polished and brushed finishes, is adjustable to fit diverse wrist sizes. Subtle Coach branding at the 12 o’clock marker or etched within the clasp underlines brand identity without dominating the design. With water-resistance up to 30 meters, it’s suitable for everyday wear—be it an impromptu coffee meeting or a breezy summer soirée.
Matching the Coach Gold Bracelet with Your Wardrobe
Day-to-Day Elegance
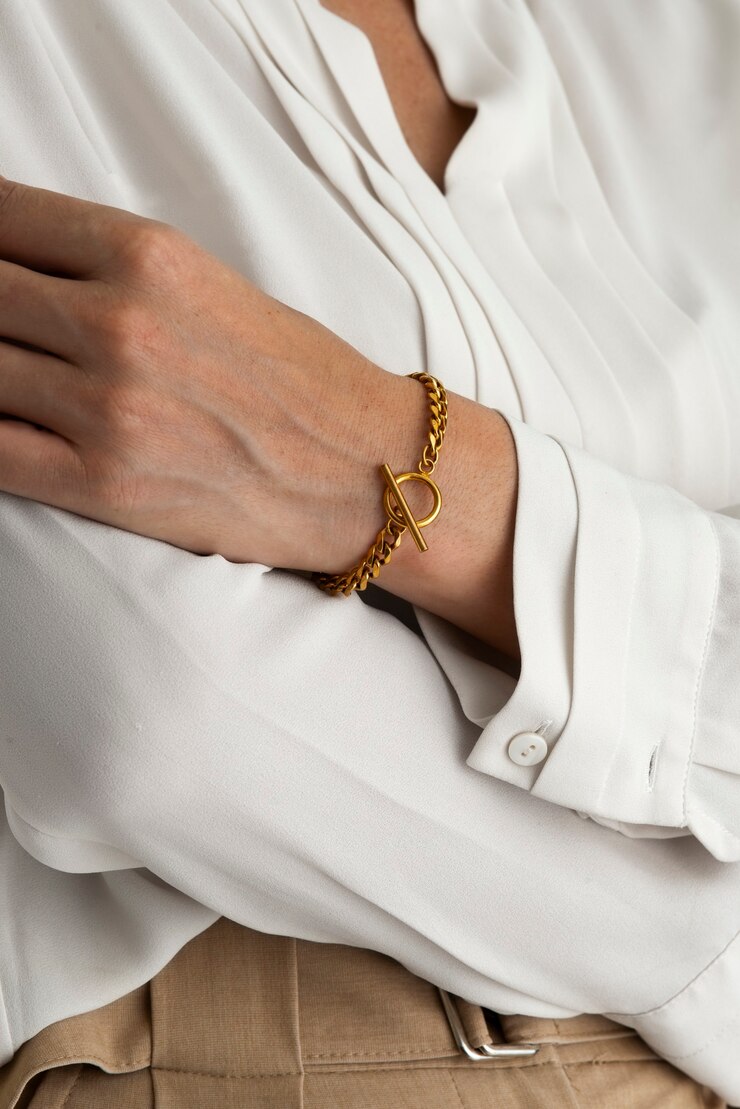
Pair the gold bracelet watch with tailored trousers and a silk blouse to add a polished accent. Its gleaming bracelet complements gold hoop earrings or a minimalist pendant, offering a nuanced layering of metallic tones.
Evening Glamour
Swap casual day looks for cocktail attire—think a black sheath dress or a velvet blazer—and let the gold watch stand out against darker hues. It plays beautifully with other accessories, such as a statement clutch or satin pumps.
Weekend Casual Chic
Expecting brunch or a relaxed stroll? Combine the watch with crisp white sneakers, a graphic tee, and straight-leg jeans. The gold bracelet adds subtle chicness without feeling overdressed.
Features That Define Function and Style
High-Quality Quartz Movement
At the heart of the timepiece lies a precision quartz mechanism, ensuring reliable performance. This dependable movement is a hallmark of Coach’s commitment to both aesthetics and engineering.
Corrosion-Resistant Case
Constructed from stainless steel with a hypoallergenic PVD gold coating, the case sustains its radiant shine over time. Such finishs preserve beauty while safeguarding against typical wear and tear.
Scratch-Resistant Mineral Crystal
Protecting the watch face is mineral crystal glass—durable enough to handle daily bumps, yet maintains clarity for effortless time-reading. It strikes a balance between protection and aesthetic elegance.
Interchangeable Bracelets
Some models feature quick-release bars, making sash-swapping an easy way to shift from refined daywear to casual weekend looks. The versatility is ideal for style-conscious trendsetters.
Sizing, Comfort, and Fit
Coach understands the importance of personalized comfort. Standard links can be removed at a jeweler, or DIY tools can adjust fit with ease. This tailorability, paired with contoured casebacks, ensures long-wear comfort. The watch weighs moderately—heavy enough to feel substantial, yet light enough for daily use.
The Emotional Resonance of Gold
Gold accessories hold symbolic value: they represent achievement, continuity, and inner strength. The Coach gold bracelet watch isn’t merely functional—it’s a wearable reminder of personal milestones, be it a promotion, graduation, or cherished gift. In the fluctuating tides of fashion, gold endures—just like the memorable moments it commemorates.
Care Tips: Keep the Luster Alive Golden Hour
To preserve its radiant finish, follow these subtle care practices:
- Regular Cleaning: Use a soft microfiber cloth with mild soap and water, then dry thoroughly.
- Storage Essentials: Place the watch in a lined box or pouch to prevent scratches—and avoid exposure to extreme temperatures.
- Avoid Chemicals: Perfumes, lotions, and hairsprays can impact the metal’s finish—apply them before wearing the watch.
These proactive measures keep your timepiece looking as vibrant as day one.
Frequently Asked Questions (FAQs)
Q: Is the Coach gold bracelet watch suitable for water exposure?
A: Yes—most models are water-resistant up to 30 meters, meaning they can withstand splashes or light rain. However, it’s best to avoid swimming or showering with the watch to preserve its gold finish.
Q: Can I adjust the bracelet myself at home?
A: Absolutely. Many models feature removable links and come with a small adjustment tool. If DIY isn’t your style, a jeweler can easily customize the fit.
Q: Does Coach offer a warranty on this watch?
A: Coach typically provides a two-year warranty covering manufacturing defects in movement and materials. Check your specific model’s documentation for warranty scope.
Q: Can I pair a gold bracelet watch with other metal accessories?
A: Yes. Mixing metals—such as layering the watch with rose gold rings and silver bracelets—is currently in vogue. It’s all about creating a cohesive style story.
Q: How do I switch the bracelet for a different look?
A: Many models use quick-release bars, letting you swap straps without tools. Simply push the spring bar inward and lift the bracelet to detach it.
Conclusion
The Coach gold bracelet watch captures the essence of “Golden Hour,” encapsulating the beauty of fleeting moments with enduring design and versatility. From everyday sophistication to evening allure, it harmonizes quartz accuracy, premium materials, and nuanced styling for the modern aesthete. More than a timepiece, it’s a symbol of milestones and personal victories.

Good pants for men are all about finding the perfect balance between style, comfort, and practicality. It’s not just about looking good; it’s also about feeling good and being able to move freely. For men with pants, this means considering factors like fabric, fit, and features like pockets and waistbands.
Fabric: The Foundation of Comfortable Pants
The type of fabric used to make pants can greatly impact how comfortable they are to wear. Cotton, polyester, and wool are popular choices, each with their own pros and cons. For example, cotton is breathable and soft, but may not be as durable as polyester or wool. Men with pants who prioritize comfort may want to look for pants made from a cotton-rich blend.

Fit: The Key to Stylish Pants
A good fit is essential for stylish pants. Pants that are too tight or too loose can be unflattering and uncomfortable. Men with pants should consider their body type and personal style when choosing a fit. For instance, slim-fit pants are great for those with a lean build, while relaxed-fit pants are better suited for those with a more athletic build.
The Pros and Cons of Different Types of Pants for Men
From jeans to dress pants, there are many different types of pants to choose from. Each has its own advantages and disadvantages. For example, jeans are versatile and comfortable, but may not be suitable for formal events. Dress pants, on the other hand, are perfect for dressing up, but may not be as comfortable for everyday wear.
“I love wearing linen pants in the summer – they’re so breathable and comfortable, even on the hottest days.”
Men with pants who want to stay stylish and comfortable should consider the occasion and dress accordingly. Whether you’re heading to the office or a night out on the town, there’s a pair of pants to suit your needs.
Features to Consider: Pockets, Waistbands, and More
When it comes to pants, it’s not just about the fabric and fit – it’s also about the features. Men with pants should look for pants with functional pockets, a comfortable waistband, and other details that enhance the overall wearing experience.
FAQs
Conclusion
Q: What are the most comfortable pants for men to wear?
A: The most comfortable pants for men to wear depend on personal preference, but many men swear by cotton or linen pants for their breathability and softness.
Q: How do I choose the right fit for my pants?
A: To choose the right fit, consider your body type and the occasion. For example, slim-fit pants are great for formal events, while relaxed-fit pants are better suited for casual gatherings.
Q: Can men with pants wear jeans to formal events?
A: While jeans can be dressed up, they’re generally not suitable for formal events. Men with pants may want to opt for dress pants or trousers instead.
Q: What’s the best way to care for my pants?
A: To keep your pants looking their best, wash them in cold water, hang them to dry, and avoid over-drying or over-washing.
Men with pants, it’s clear that there’s a lot to consider when it comes to style, comfort, and practicality. By understanding the basics, considering different types of pants, and looking for features that enhance the wearing experience, men can find the perfect pair of pants to suit their needs.

Tongue piercing is a relatively quick process, but it’s crucial to find a reputable and experienced piercer to minimize the risks.
Choosing the Right Piercer
When selecting a piercer, look for someone who is:
- Experienced: Check their portfolio and ask about their experience with tongue piercings.
- Hygienic: Ensure they follow proper hygiene and sanitation procedures.
“I was nervous about getting my tongue pierced, but my piercer was amazing. They explained everything and made me feel at ease.”

Aftercare and Healing
Proper aftercare is crucial for a smooth healing process. Here are some tips to keep in mind:
- Rinse with salt water: Soak your tongue in a salt water solution several times a day to promote healing.
- Avoid irritants: Steer clear of spicy or acidic foods, as well as smoking and drinking.
Healing Time
The healing process for a tongue piercing typically takes 4-6 weeks. During this time, you may experience some discomfort, swelling, and bleeding.
FAQs
Q: Is tongue piercing painful?
A: Yes, tongue piercing can be painful, but the pain is usually temporary and manageable.
Q: Can I get a tongue piercing if I have a sensitive tongue?
A: It’s not recommended to get a tongue piercing if you have a sensitive tongue, as it may be more prone to irritation.
Q: How do I care for my tongue piercing?
A: Proper aftercare involves rinsing with salt water, avoiding irritants, and keeping the area clean.
Q: Can I get a tongue piercing if I have dental work?
A: It’s best to consult with your dentist or piercer to determine if a tongue piercing is safe for you.
The Pros and Cons of Tongue Piercing
As with any form of body modification, there are pros and cons to consider.
Pros:
- Self-expression: Tongue piercing can be a unique form of self-expression.
- Aesthetic appeal: A tongue piercing can be a stylish and attractive addition to your appearance.
Cons:
- Pain and discomfort: Tongue piercing can be painful, and the healing process can be uncomfortable.
- Risks and complications: As with any piercing, there are risks of infection, swelling, and other complications.
Conclusion
Tongue piercing is a personal decision that requires careful consideration. By understanding the process, risks, and aftercare involved, you can make an informed decision that’s right for you.
How to remove acrylic nails without damaging your natural nails Removing acrylic nails can be a bit of a challenge, but with the right techniques and tools, you can do it safely and effectively at home. In this article, we’ll walk you through the process of how to remove acrylic nails, and provide you with some valuable tips and tricks along the way.
Understanding Acrylic Nails and Their Removal
Before we dive into the removal process, let’s take a closer look at what acrylic nails are and how they’re applied. Acrylic nails are a type of artificial nail enhancement made from a mixture of liquid monomer and powder. They’re applied on top of your natural nail to add length, strength, and beauty.

The Risks of Removing Acrylic Nails
Removing acrylic nails can be a bit tricky, and if not done correctly, it can cause damage to your natural nail. Some common risks associated with removing acrylic nails include:
- Lifting or tearing of the natural nail
- Damage to the nail bed
- Infection or irritation
Preparing for Removal
Before you start removing your acrylic nails, it’s essential to prepare your nails and the surrounding skin. Here are a few steps to follow:
Soften the Adhesive
To make the removal process easier, you’ll need to soften the adhesive that holds the acrylic nail in place. You can do this by soaking your fingers in a bowl of warm water mixed with a small amount of oil or acetone.
Protect Your Skin
To prevent irritation or dryness, apply a layer of petroleum jelly or cuticle oil to the skin around your nails.
The Removal Process: A Step-by-Step Guide
Now that you’re prepared, it’s time to start removing your acrylic nails. Here’s a step-by-step guide to follow:
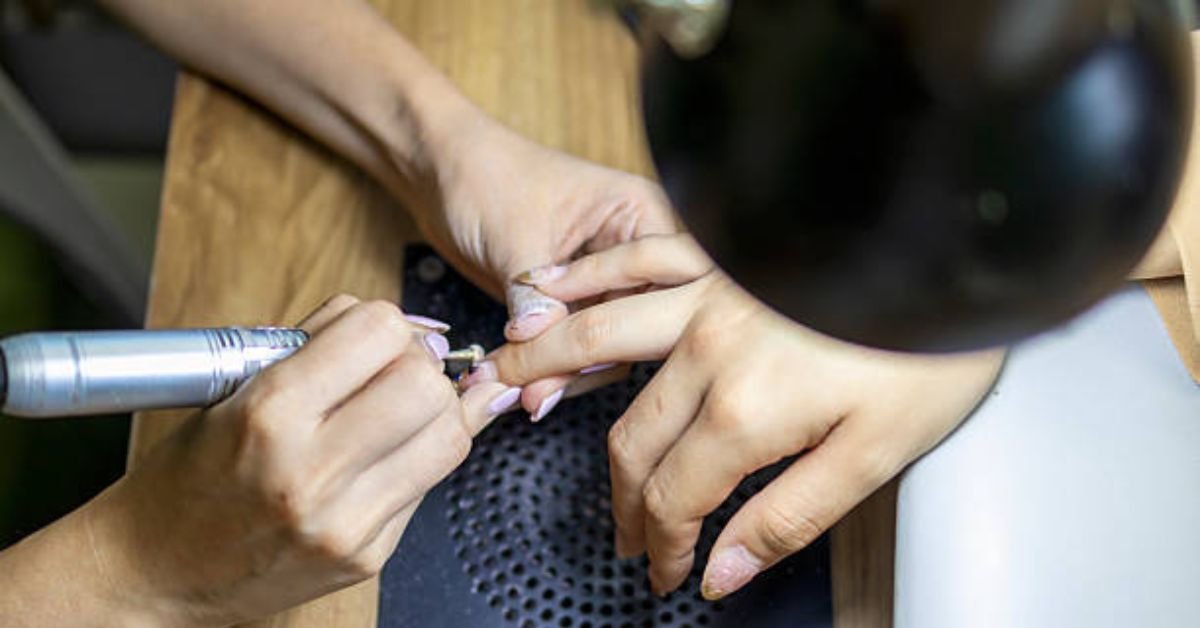
Step 1: File the Top Layer
Use a nail file to gently file the top layer of the acrylic nail, being careful not to file too aggressively and damage the natural nail.
Step 2: Soak the Nail
Soak a cotton ball or pad in acetone and place it on top of the nail. Wrap the finger with aluminum foil to help the acetone penetrate the adhesive.
Step 3: Wait and Repeat
Let the acetone soak into the adhesive for about 15-20 minutes. Repeat the process until the acrylic nail starts to loosen.
Step 4: Gently Pry Off the Nail
Once the acrylic nail is loose, use a cuticle pusher or orange stick to gently pry it off. Be careful not to force it, as this can cause damage to the natural nail.
“I was able to remove my acrylic nails at home using the acetone soak method. It took a few attempts, but it was worth it to avoid a trip to the salon.”
Aftercare and Tips
After removing your acrylic nails, it’s essential to take good care of your natural nails to prevent damage or infection. Here are a few tips to follow:
- Moisturize your nails and cuticles to keep them hydrated
- Avoid using harsh chemicals or detergents
- Keep your nails clean and dry
FAQs
Q: How long does it take to remove acrylic nails at home?
A: The removal process can take anywhere from 30 minutes to an hour, depending on the type of adhesive used and the number of nails being removed.
Q: Can I use nail polish remover to remove acrylic nails?
A: No, nail polish remover is not strong enough to remove acrylic nails. You’ll need to use acetone or a specialized acrylic nail remover.
Q: Will removing acrylic nails damage my natural nails?
A: If done correctly, removing acrylic nails should not damage your natural nails. However, if you’re not careful, you can cause lifting or tearing of the nail.
Q: How often can I remove and reapply acrylic nails?
A: It’s recommended to give your natural nails a break between applications to prevent damage or weakening. Try to limit your acrylic nail applications to every 2-3 weeks.
Conclusion
Removing acrylic nails at home is a relatively simple process that requires some patience and care. By following the steps outlined in this guide, you can safely and effectively remove your acrylic nails and keep your natural nails healthy and strong.
-

 HEALTH8 months ago
Gold Potato Calories: What’s Really on Your Plate?
-

 BLOG8 months ago
Flattering Cuts for Diamond-Shaped Faces
-

 TECH8 months ago
Smart Tools for Special Education Success
-

 FASHION8 months ago
Shine On: Clean Silver Naturally
-

 BUSINESS8 months ago
Beyond the Poké Ball: Inside Pokémon Center Japan
-

 ENTERTAINMENT8 months ago
Panem Reignited: A New Chapter in the Hunger Games Saga
-

 BUSINESS8 months ago
Tower Loan Uncovered: What You Need to Know Before You Borrow
-

 ENTERTAINMENT8 months ago
Matchday Spotlight: Today’s Must-Watch Football Showdowns